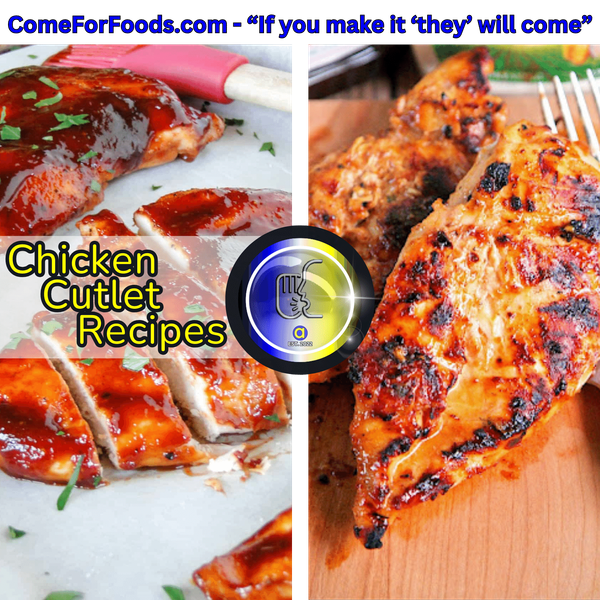
Who Said Chicken Cutlet Recipes Had To Be Boring?
Not us! Get ready to give your taste buds a joyride with this Easy Crunchy Parmesan Garlic Chicken Cutlets in library of Chicken Cutlet Recipes. This dish is so good, it might just make your grandmother jealous!
Key Takeaways:
Quick Prep Time: Get from pantry to plate in less than 30 minutes.
The Toolbox: Make sure you have the necessary utensils and equipment needed before you start, if not no worries they are just a click away!
"KitchenRIZZ": Add some "chaRIZZma" to your Kitchen game with these Chef tips and Kitchen hacks to elevate this recipe!
What You'll Need: Ingredients Unveiled
Before you don your apron and chef's hat, let's gather the ingredients you'll need for this recipe:
- 4 boneless, skinless chicken breasts
- 1 cup all-purpose flour
- 2 large eggs, beaten
- 1 cup breadcrumbs
- 1 cup grated Parmesan cheese
- 2 tablespoons minced garlic
- 1 teaspoon onion powder
- 1 teaspoon dried oregano
- 1 teaspoon dried basil
- Salt and pepper to taste
- Olive oil for frying
The Toolbox: Necessary Equipment and Tools
Here’s what you’ll need:
- 3 shallow dishes (for dredging)
- Tongs
- Whisk
- Oven Mitts/Kitchen Gloves
- large skillet
- Paper towels (for draining)
- Meat mallet (if you're feeling a bit aggressive towards the chicken)
- Airtight Food Storage Containers (for leftovers)
- Baking Sheets (optional, baking method)
- Air-Fryer (optional)
Note: We hope these recipes bring joy to you and your loved ones. We are Proud Brand Ambassadors and Amazon Associates. We may earn compensation on qualifying purchases of cooking equipment through our links at absolutely no extra cost to you!
Step-by-Step: Crafting Your Cutlets
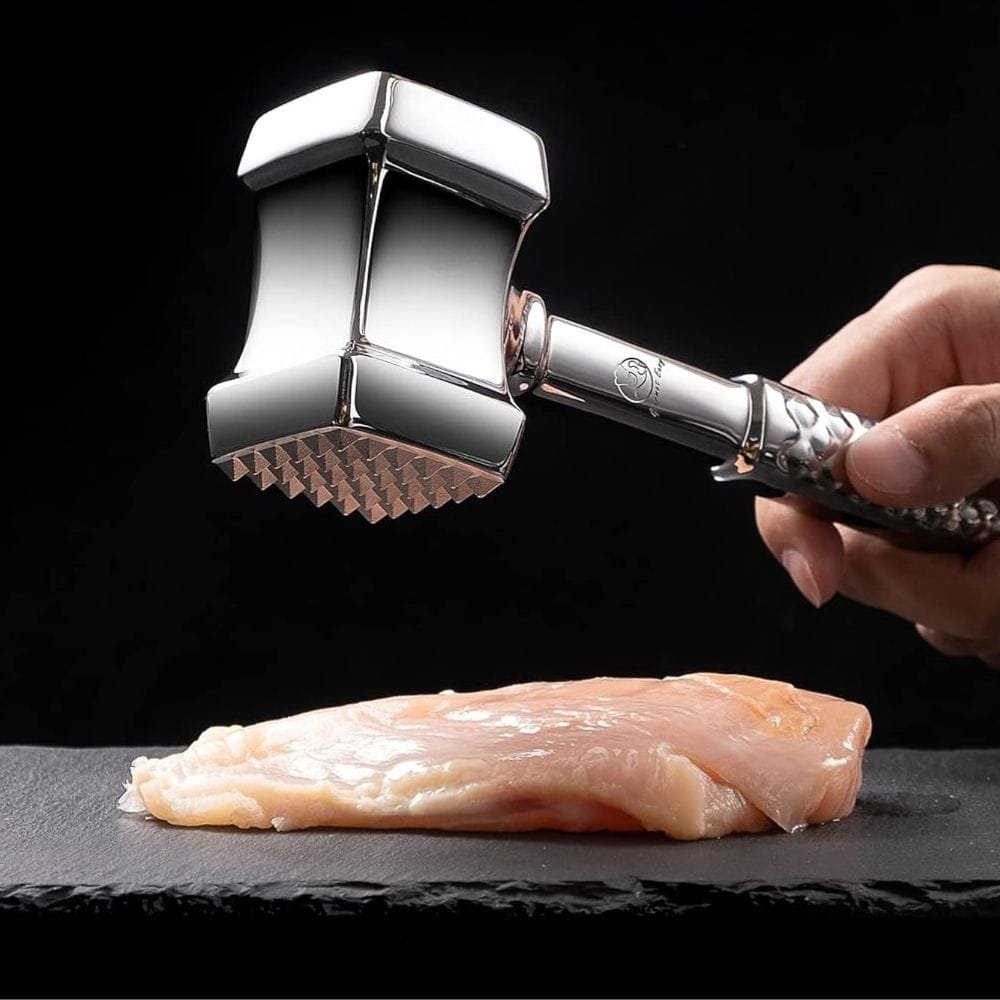
First things first, let's flatten those chicken breasts like your high school crush flattened your heart—gently yet effectively. Place each breast between two pieces of plastic wrap and pound them with a meat mallet until they're about 1/2 inch thick.
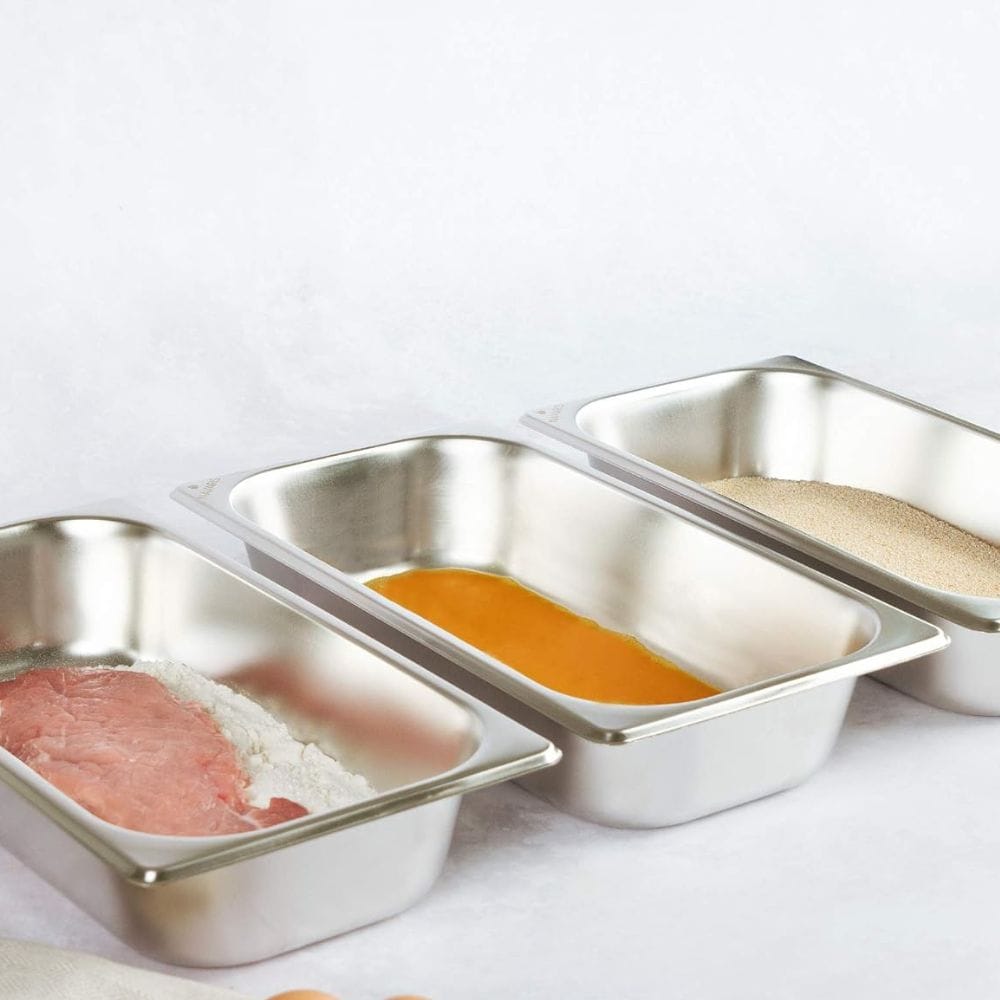
Next, it's time to set up your dredging station. In the first dish, mix flour, salt, and pepper. In the second, beat the eggs with a Whisk until they're frothy like the sea. In the third, combine breadcrumbs, Parmesan, garlic, oregano, and basil.
Dredge Like a Pro
With 3 shallow dishes take each chicken cutlet and give it a flour shower, followed by an egg bath, and finally, a breadcrumb spa. Make sure each cutlet is fully coated at each stage; think of it as dressing up your chicken for a gala.
Fry to Golden Perfection
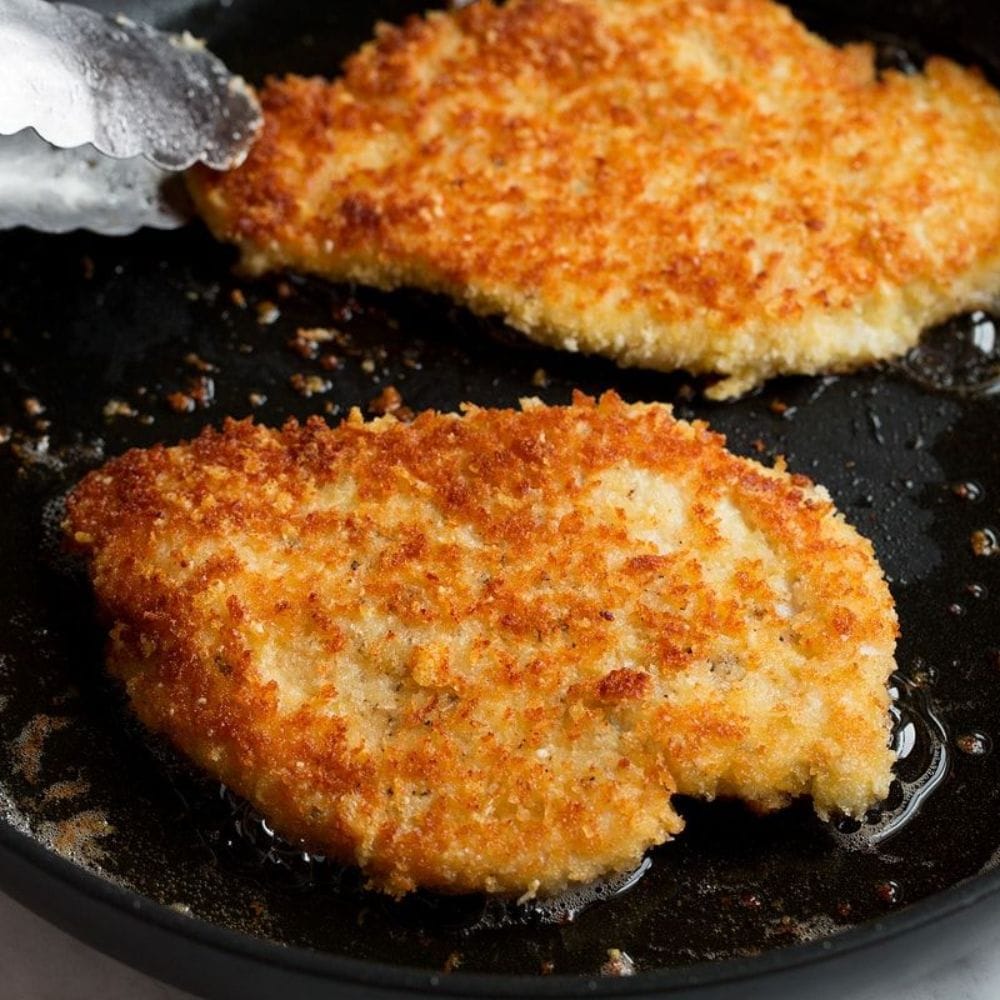
Heat a good glug of olive oil (*see Chef Tip below in KitchenRIZZ) in a large skillet over medium heat. Fry the cutlets until they're as golden as a California sunset, about 4 minutes per side. Then, let them rest on paper towels to drain any excess oil—nobody likes an oil slick on their plate.
Air-Fryer Method: A Modern Twist
For those who prefer a modern healthier twist, the Air-Fryer is your best friend. Preheat it to 375°F (190°C) and place the coated cutlets in the basket. Spray top of cutlets with Cooking Spray Cook them for about 10 minutes, flip, and then another 5 minutes or until they're crispy and golden. It's like having a mini convection oven on your counter top that will reduced your saturated fat intake— futuristic and fabulous without the guilt! (*Kitchen Hack: heat up your air-fryer for a few minutes before adding your chicken in. This will add to the crispiness of the bottom and speed up the cooking process)
Serving Suggestions: Dress to Impress
Now that you've nailed the chicken, let's talk presentation. These cutlets go great with a light arugula salad, some zesty pasta, or even tucked into a crusty baguette. If you're feeling fancy, drizzle some balsamic reduction over the top for that chef's kiss effect.
Pairing Perfection: What to Drink
What's a great meal without the perfect beverage to accompany it? For this dish, a crisp white wine like a Sauvignon Blanc does wonders. Not a wine fan? A light, citrus beer will also do the trick, (ie. Blue Moon)
The Vegetarian Twist: Swap It Out
Not everyone is a fan of the cluck. For a vegetarian version, swap chicken for thick slices of eggplant or portobello mushrooms. Follow the same steps, and you'll have a dish that even meat-lovers might envy.
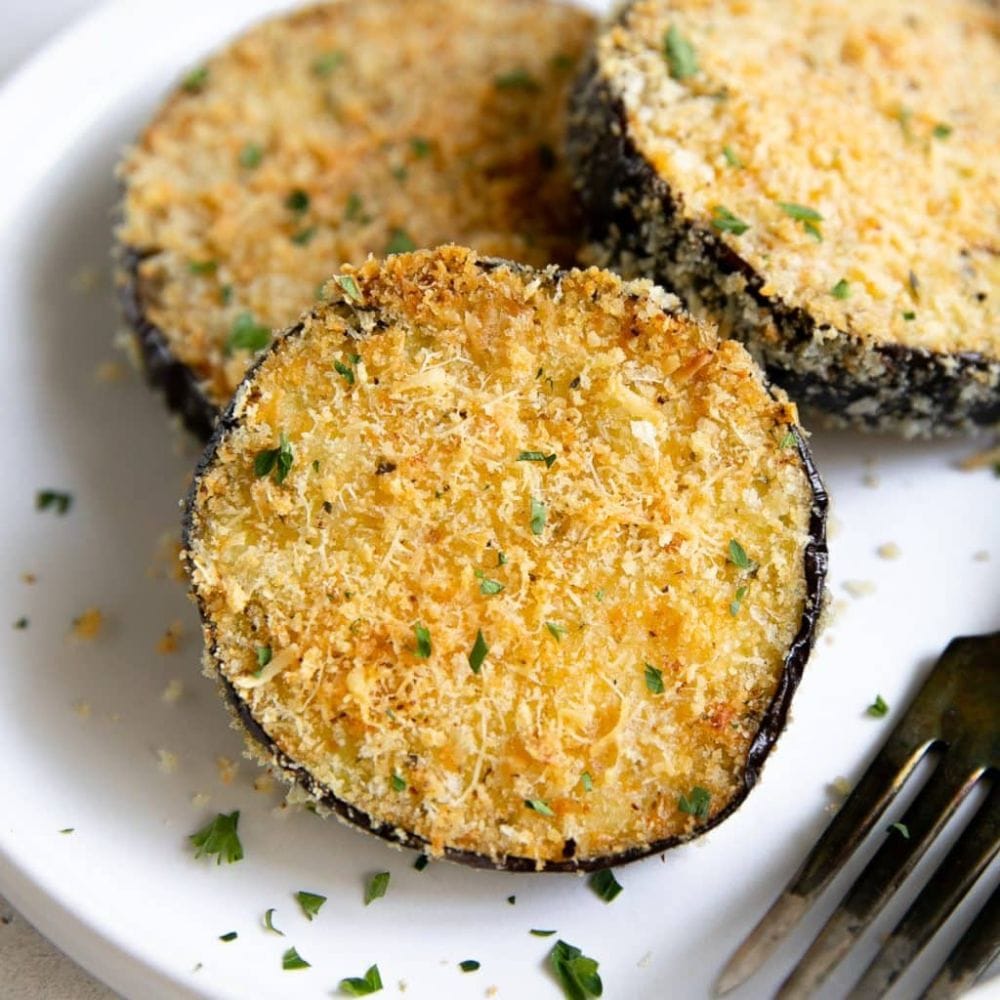
Make It a Meal Prep Masterpiece
If you're into meal prepping, these cutlets are a dream. They reheat beautifully in the oven or air-fryer, and you can freeze them pre-cooked for those nights when cooking feels like climbing Everest.
RECIPE Condensed
🚨"KitchenRIZZ"🚨
Add some "chaRIZZma' to your Kitchen Game with these Hacks and Pro Chef Tips to make these Crunchy Parmesan Garlic Chicken Cutlets absolutely irresistible:
Double Dredge for Extra Crunch
- Hack: Dip your chicken cutlets in flour, then egg wash, and finally in a mixture of breadcrumbs and grated Parmesan cheese. Repeat the egg wash and breadcrumb steps for an extra layer of crunch.
- Why: This double dredging technique ensures a thicker, crispier coating that stays crunchy even after cooking.
Preheat Your Baking Sheet
- Hack: If you're baking the cutlets, preheat your baking sheet in the oven before placing the chicken on it.
- Why: A hot baking sheet helps to sear the bottom of the cutlets immediately, preventing them from getting soggy and ensuring a crispy crust.
Marinate for Maximum Flavor
- Tip: Marinate your chicken cutlets in a mixture of buttermilk, garlic, and herbs for at least an hour before dredging.
- Why: The buttermilk tenderizes the chicken, while the garlic and herbs infuse it with deep, savory flavors.
Season Every Layer
- Tip: Season the flour, egg wash, and breadcrumb mixture with salt, pepper, and a bit of garlic powder.
- Why: This ensures that every bite is packed with flavor, not just the outer crust.
*Cook in a Mix of Butter and Oil
- Tip: When frying, use a combination of butter and oil.
- Why: The oil raises the smoke point, preventing the butter from burning, while the butter adds a rich, delicious flavor to the cutlets.
There you go! These hacks and tips will have you whipping up the most delicious, crunchy Parmesan Garlic Chicken Cutlets in no time.

Q: Can I bake these cutlets instead of frying?
A: Absolutely! For a healthier version, bake at 400°F for about 20-25 minutes or until the chicken is cooked through and the coating is crispy...and check out "KitchenRIZ" in this article.
Q: How long can I store the cooked cutlets in the fridge?
A: These cutlets will stay fresh in the refrigerator for up to 3 days. Make sure to store them in an Airtight Food Storage Container.
Q: Any tips for making sure my cutlets are extra crispy?
A: Yes! Make sure your oil is hot before adding the cutlets, and don't overcrowd the pan. This ensures each cutlet gets enough heat and space to crisp up beautifully...and check out KitchenRIZ in this article.
Keep Calm, Cook and Sip...
Have Fun...Smile...Be Happy - KDII
"We hope these recipes bring joy to you and your loved ones. We are Proud Brand Ambassadors and Amazon Associates. We may earn compensation on qualifying purchases of cooking equipment through our links at absolutely no extra cost to you!


